
There's something magical about walking up to a home at dusk and seeing the pathway glow, the trees softly lit, and the whole yard come alive. If you've ever wanted that look, learning how to install low voltage landscape lighting is one of the best weekend projects you can tackle. It's safe, it's affordable, and honestly, it's easier than most people think.
At SoHo Trimlight LLC, we help homeowners across the greater Houston area brighten up their outdoor spaces. In this guide, we'll walk you through everything from tools to troubleshooting so you can get it done right the first time.
What Tools and Materials Do You Need for Low Voltage Landscape Lighting
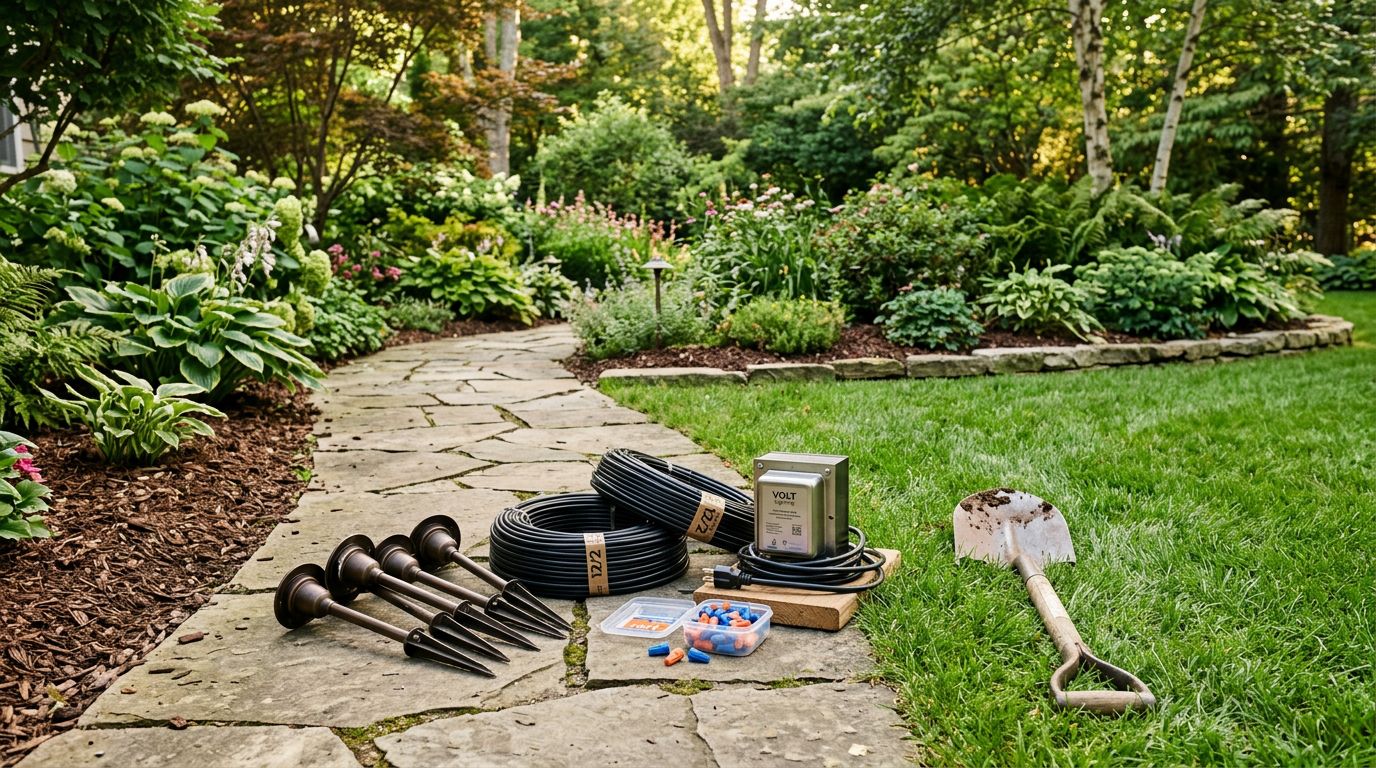
Before you start digging around your flower beds, let's talk gear. Low voltage systems run on 12 volts, which means you don't need to be an electrician to handle them. Still, having the right tools makes the whole job go smoothly. Gather everything up front so you're not running back to the hardware store halfway through.
Here's what you'll want to have on hand before you begin. If you'd rather skip the shopping and let pros handle it, our landscape lighting installation services cover the whole process from design to setup.
- Low voltage transformer - the heart of your system
- Low voltage cable - usually 12 or 14 gauge wire
- Landscape light fixtures - path lights, spotlights, well lights, etc.
- Wire connectors - waterproof ones are best
- Wire strippers and cutters
- A flat-head screwdriver
- A small shovel or garden trowel for burying cable
- Electrical tape
- A voltage tester or multimeter (optional but helpful)
- Work gloves and a good pair of knees
That's really it. Most of these items you probably already own. The fixtures and transformer are your biggest purchases, so choose quality over the cheapest option you can find.
How to Plan Your Landscape Lighting Layout
Planning is the step most folks want to skip, but trust us, it saves a TON of headaches later. A little sketching before you buy fixtures means you won't end up with too many lights or gaps in the wrong spots. Think about what you want to highlight and what mood you're going for.
Walk your yard at night with a flashlight to see how light plays on different features. Then follow these steps to map out your plan.
- Sketch a simple map of your yard, including the house, driveway, and beds.
- Mark the features you want to highlight, like trees, walkways, or that pretty front entry.
- Decide on your lighting types. Path lights for walkways, spotlights for trees, and wall washes for texture.
- Locate your nearest outdoor outlet. This is where your transformer will live.
- Plan your cable run from the transformer to each fixture, keeping runs as short and even as possible.
- Count your fixtures and add up the wattage so you can size your transformer correctly.
If you want ideas for making certain features pop, our team specializes in accent lighting that draws the eye to the best parts of your property.
Step-by-Step Guide to Installing Low Voltage Landscape Lighting
Okay, now for the fun part. With your plan in hand and tools ready, you can start the actual install. Do this on a dry day and give yourself a few hours. It's not hard work, but it does take some patience. Follow these steps in order and you'll be lighting up your yard before dinner.
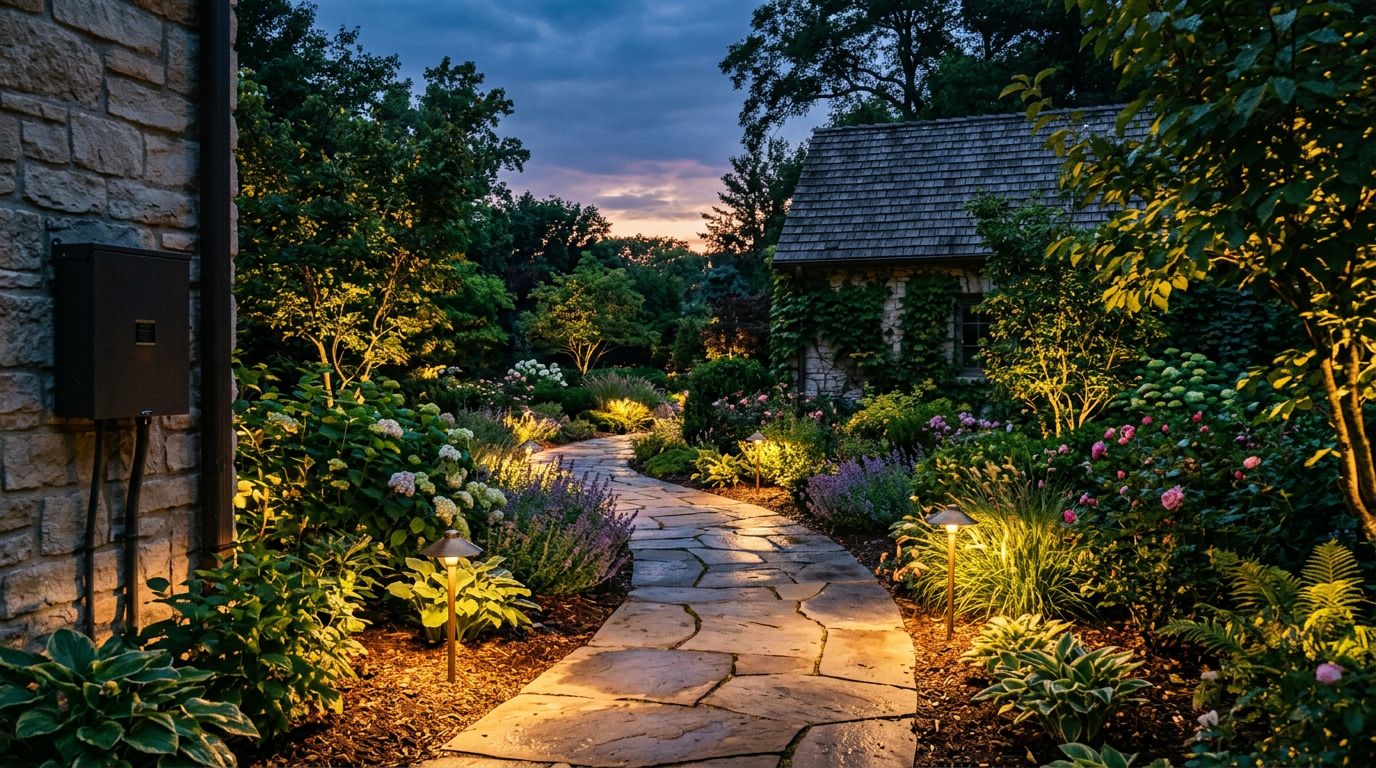
- Lay out your fixtures. Place each light where you planned it, but don't connect anything yet. This lets you eyeball spacing and make adjustments.
- Mount the transformer. Install it on a wall or post near your outdoor outlet, at least a foot off the ground. Do NOT plug it in yet.
- Run the cable. Lay your low voltage cable along the path where your lights will sit. Leave a little slack at each fixture.
- Connect the fixtures. Use waterproof connectors to tap each light into the main cable run. Make sure connections are snug.
- Connect the cable to the transformer. Strip the wire ends and attach them to the transformer terminals.
- Test everything. Plug in the transformer and turn it on. Walk your yard and check that every light works.
- Adjust and bury. Once you're happy with the look, tweak angles and then bury the cable a few inches deep to hide it and protect it.
- Set your timer or controls. Program the transformer's timer or smart controls so your lights come on automatically.
Want to control your lights from your phone or sync them with the rest of your home? Ask us about outdoor smart light installation to take your setup to the next level.
How to Choose the Right Transformer Size
The transformer is the powerhouse of your whole system, so getting the size right matters. Too small and your lights will look dim or flicker. Too big and you're wasting money. The rule of thumb is to add up the wattage of all your fixtures, then pick a transformer that gives you some breathing room on top of that.
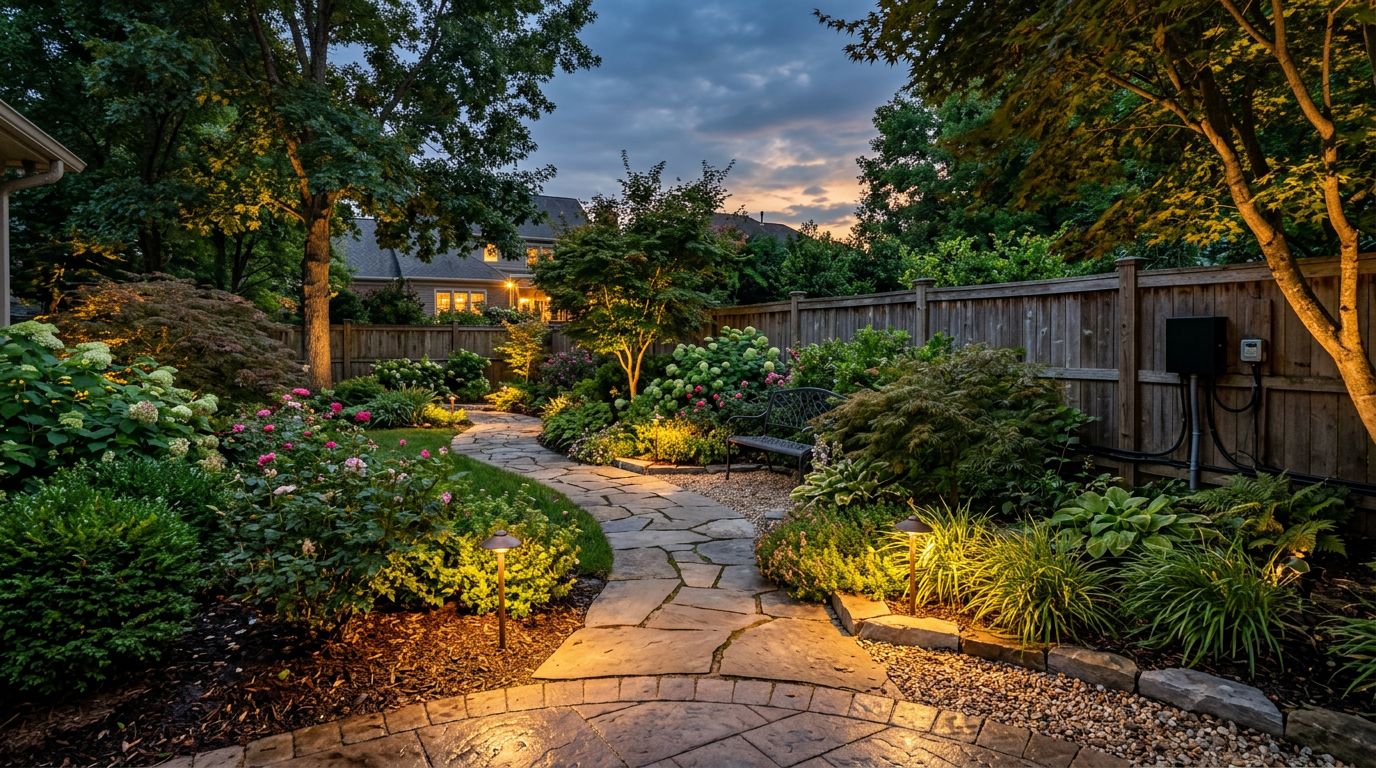
A good target is to use about 80 percent of your transformer's capacity. That leaves space to add more lights later without buying a whole new unit. Here's how to think it through.
- Add up total wattage. Multiply the number of fixtures by their wattage to get your total load.
- Add a buffer. Divide your total load by 0.8 to find the minimum transformer size you need.
- Common sizes. Transformers usually come in 100, 150, 300, and 600 watt options.
- Plan for growth. If you think you'll add more lights, size up now.
- Check the voltage. Long cable runs lose a little voltage, so a multi-tap transformer helps keep distant lights bright.
For example, if you have ten 7-watt LED fixtures, that's 70 watts total. Divide by 0.8 and you get about 88 watts, so a 100 watt transformer would work fine. LED lights use way less power than old halogen bulbs, which is another reason we love them.
Common Low Voltage Landscape Lighting Mistakes to Avoid
We've seen plenty of DIY jobs that started great and ended in frustration. Most problems come from a few common slip-ups that are easy to dodge once you know about them. Learn from other people's mistakes and save yourself the hassle.
- Overloading the transformer. Cramming too many lights on one unit leads to dim, flickering fixtures.
- Using cheap connectors. Non-waterproof connectors corrode fast and cause failures. Spend a little more here.
- Ignoring voltage drop. Long runs lose power, so lights at the far end look dimmer. Balance your runs.
- Burying cable too shallow. A cable near the surface is easy to slice with a shovel later.
- Over-lighting the yard. More lights isn't always better. Aim for balance and subtle contrast.
- Skipping the plan. Winging it usually means uneven spacing and wasted fixtures.
- Pointing lights at eye level. Glare ruins the effect. Aim to light features, not blind guests.
Avoid these and you're already ahead of most weekend warriors. A thoughtful, well-balanced install always looks more professional than one that's just bright everywhere.
How to Troubleshoot and Maintain Your Landscape Lighting
Even a solid install needs a little care over time. Bulbs burn out, connections loosen, and Texas weather does what it does. The good news is that low voltage systems are simple to fix. Here's how to keep yours running strong year after year.
One Light Won't Turn On
Start with the bulb. Swap it out and see if that solves it. If not, check the connector where the fixture taps into the main cable. Corrosion or a loose connection is usually the culprit. Clean it up or replace the connector.
All the Lights Are Out
Check the transformer first. Make sure it's plugged in and the timer or switch is on. Look at the breaker too. If the transformer is getting power but nothing lights up, the main cable connection at the terminal may have come loose.
Lights Are Dim or Flickering
This usually points to voltage drop or an overloaded transformer. Measure the voltage at your fixtures with a multimeter. If distant lights read low, you may need to rebalance your runs or move to a higher tap on the transformer.
Regular Maintenance Tips
Give your system a quick check every few months. Trim back plants that block or crowd fixtures. Wipe dirt and grime off the lenses so they shine at full brightness. Tighten any loose connections and replace worn connectors before they fail.
Seasonal Care
After heavy storms, walk the yard and make sure nothing shifted or got buried. Reposition fixtures that got knocked out of place. A few minutes of upkeep keeps your lighting looking sharp all year long.
Conclusion
Installing low voltage landscape lighting is a rewarding project that boosts curb appeal, safety, and the overall vibe of your home. With the right tools, a solid plan, and a properly sized transformer, you can pull off a clean, professional-looking install. Just remember to avoid the common mistakes and keep up with basic maintenance so your lights stay bright for years.
If you'd rather leave it to the pros or want help designing the perfect layout, our team at SoHo Trimlight LLC proudly serves League City, Texas City, Friendswood, Dickinson, Santa Fe, Clear Lake, and Nassau Bay. Reach out and let's light up your yard the right way.